

Access the BoldSign Web App
Log in to your BoldSign account and navigate to the web application.
Create a document
Initiate the document creation process by clicking on Create New and selecting the Create New Document option.

Add files and recipients.
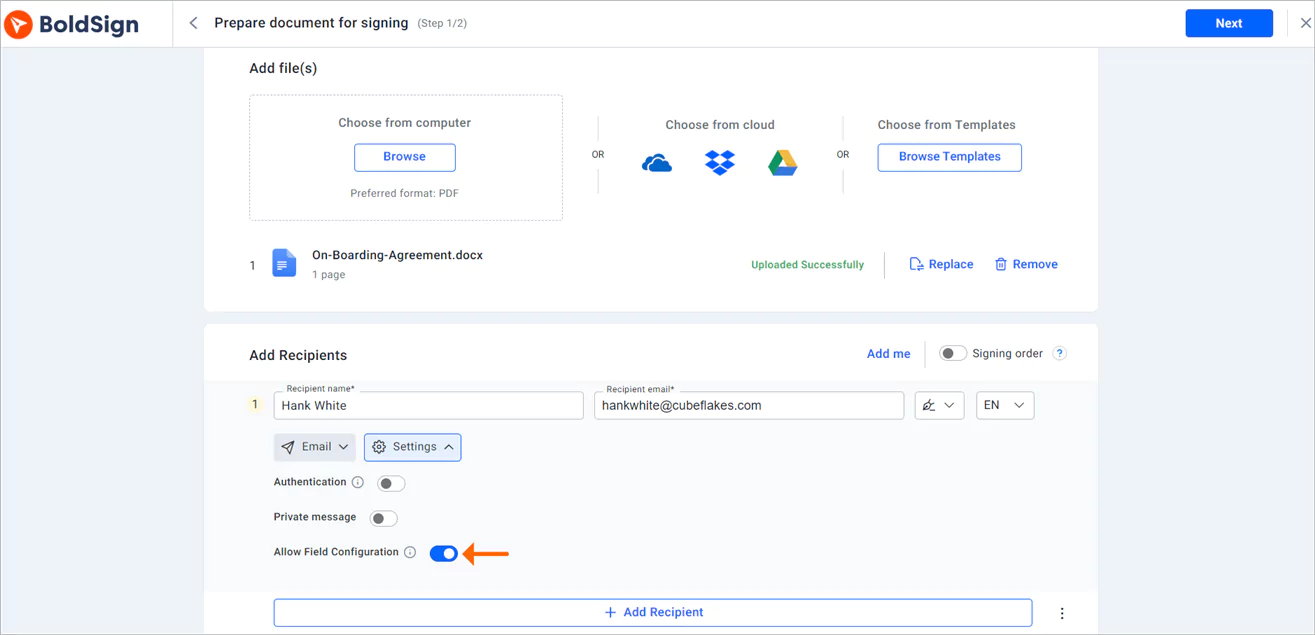
Navigate to the Prepare document for signing page. In the Add Files section, upload the relevant files and add recipients in the Add Recipients section.
Enable the Allow field configuration option
Then, click on the Settings dropdown below the recipient field and enable the Allow Field Configuration option.
Move to the configure fields page
Fill in all other required fields on the Prepare document for signing page and proceed to the next step by clicking Next to go to the configure fields page.
Add form fields
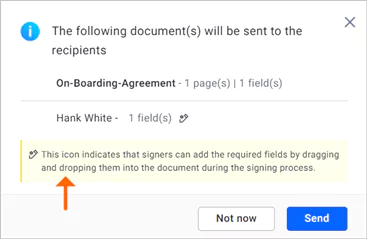
On the Configure fields page, simply drag, and drop the necessary form fields onto the document and proceed to send it for signature. Alternatively, if you prefer, you can send the document without initially adding the fields, as the signer will have the ability to incorporate the required form fields during the document signing process.
Open the document
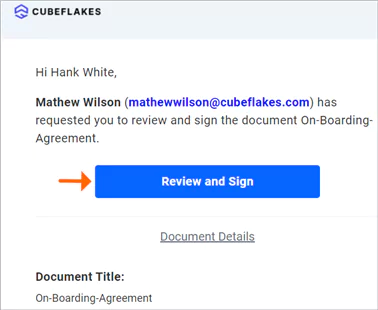
Open the sent document directly within the BoldSign application or click the link provided in the email you received.
Accept terms and conditions
Read the electronic signature disclosure terms and check the checkbox to acknowledge acceptance. Then click the Continue button to proceed with the signing process.
Drag and drop form fields
You will see form fields conveniently displayed on the left side of the signing page.
When you drag and drop a form field onto the document, form field settings will appear on the right side of the page. You can customize the settings to align with your requirements and finalize the signing process by clicking the Complete signing button.


Latest Articles
Demo-Rss
Mandating Signer Authentication When Making Signature Requests via API
How to Send Documents for eSignature with Identity Verification via API