The BoldSign mobile app is now available. Visitthis link for more details and give it a try!
Explore the BoldSign features that make eSigning easier.
Looking for a quicker, more efficient way to gather electronic signatures from bulk recipients? BoldSign’s Bulk Send feature is your solution. It enables simultaneous document distribution to multiple recipients, effectively saving you valuable time and effort.
With Bulk Send feature, you can eliminate the need to create a document from scratch each time and add form fields to each recipient individually. For instance, if an HR department needs to send an onboarding agreement to all new employees, they can easily create a Bulk Send, add all recipient details, and send the document to all recipients simultaneously.
In this blog, we’ll navigate you through the steps of creating and sending bulk electronic signature requests using BoldSign.
Here are the steps to initiate the Bulk Send from BoldSIgn application.
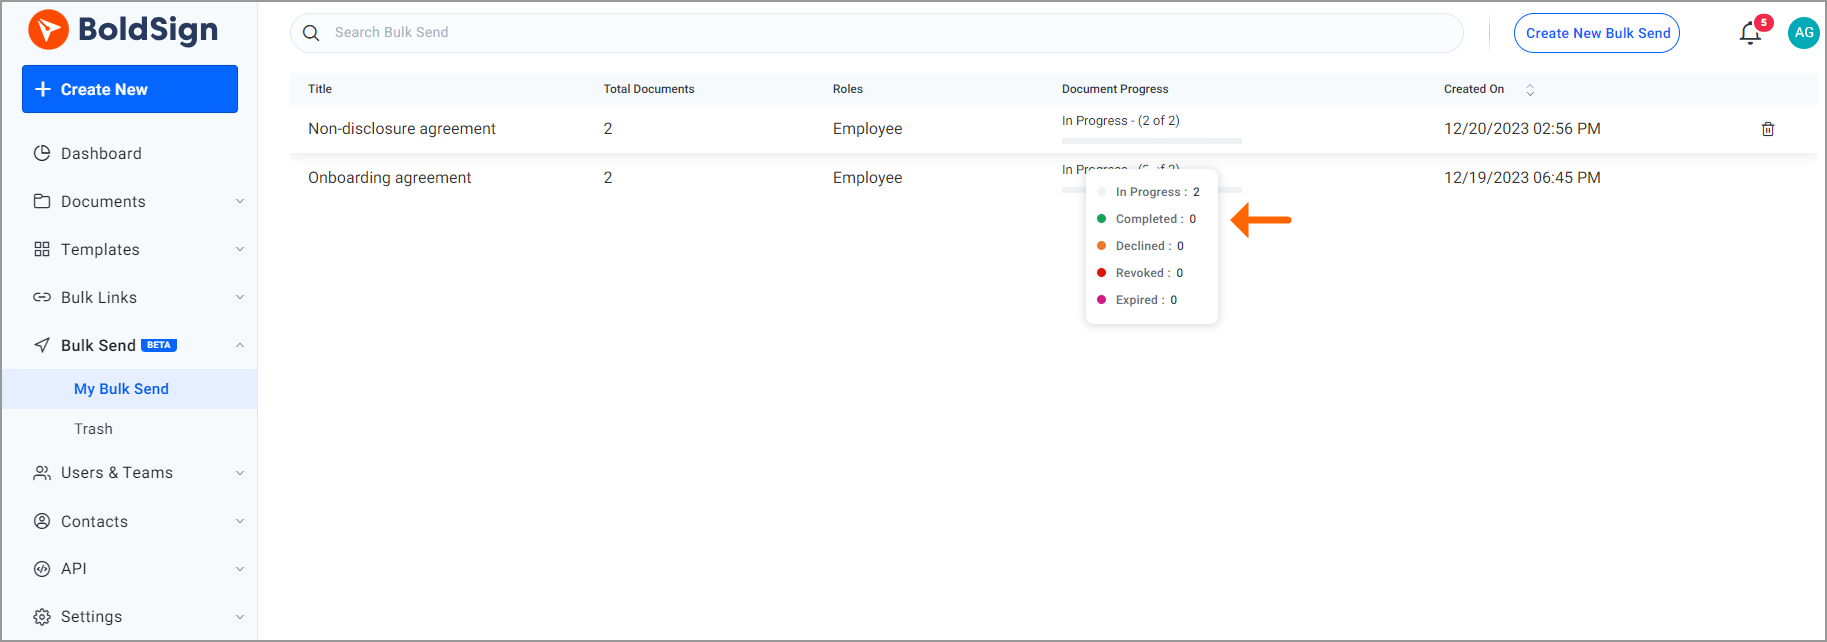
Begin by clicking on "Create New" and selecting "Create New Bulk Send."
On the “Prepare Bulk Send” page, choose the template you've created for the signature request by clicking on "Browse Templates" in the template section. The document and form field settings specified in the template will automatically populate on the Bulk Send page.
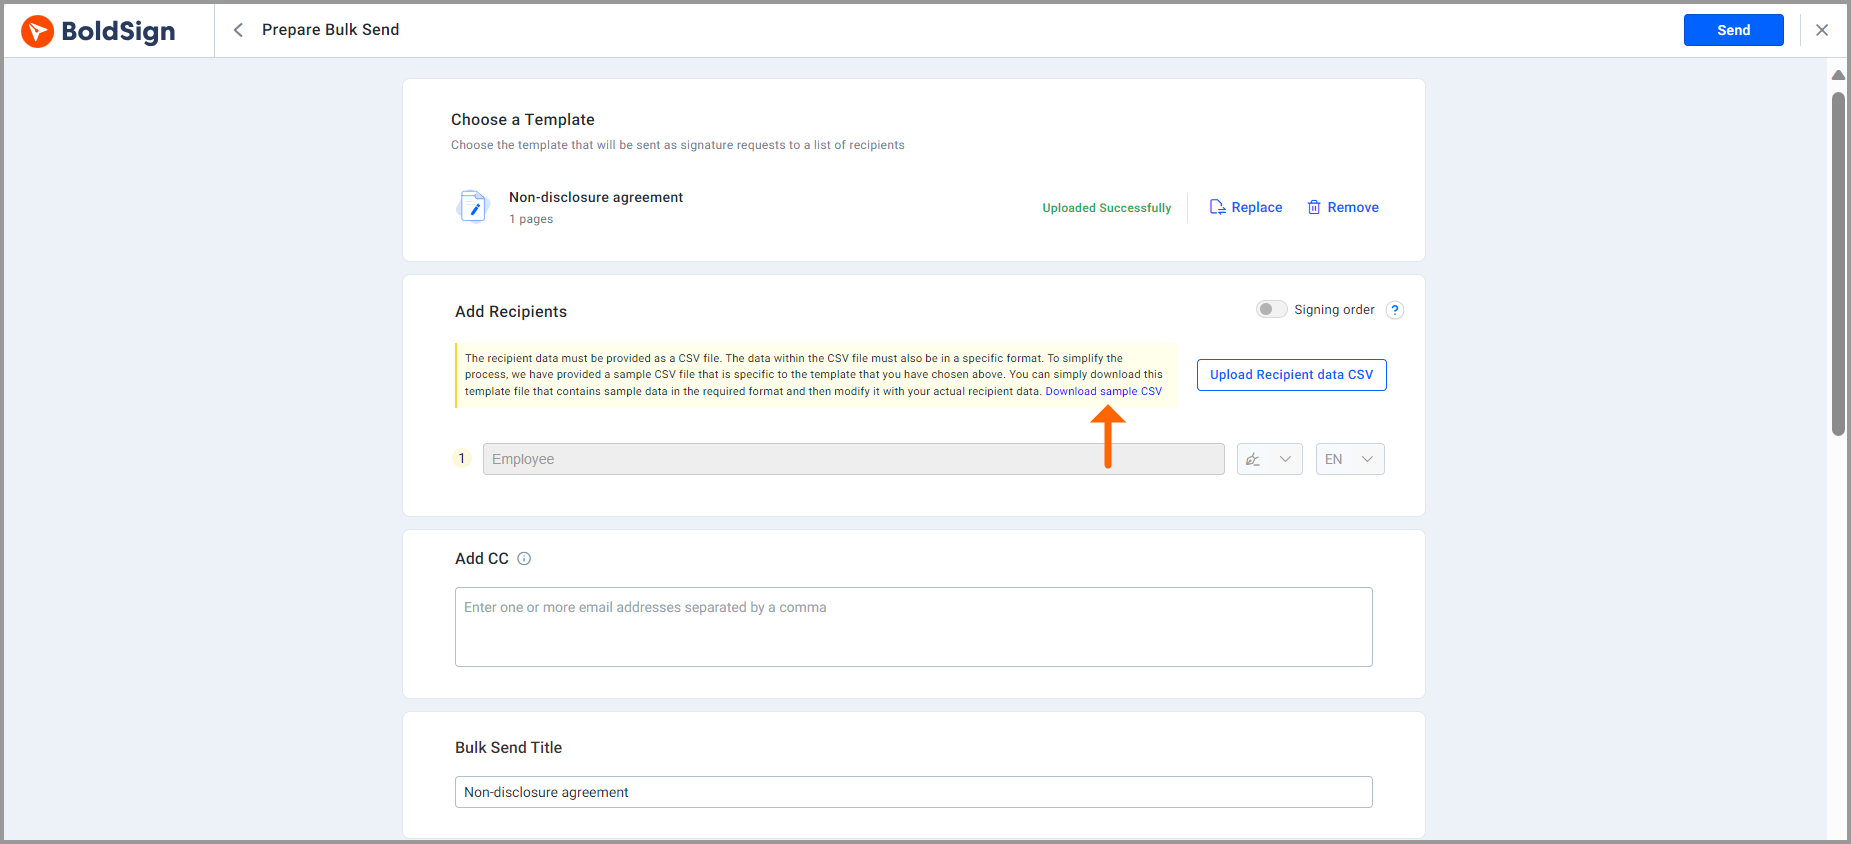
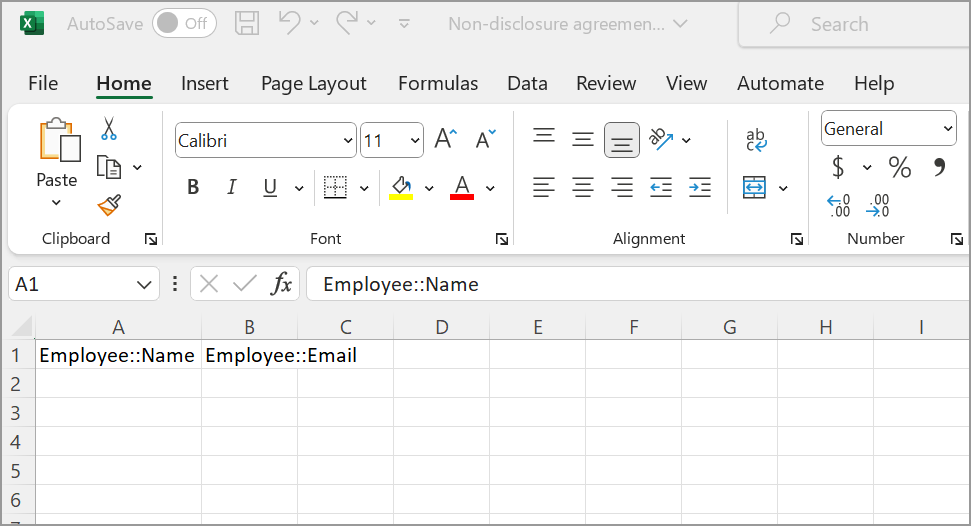
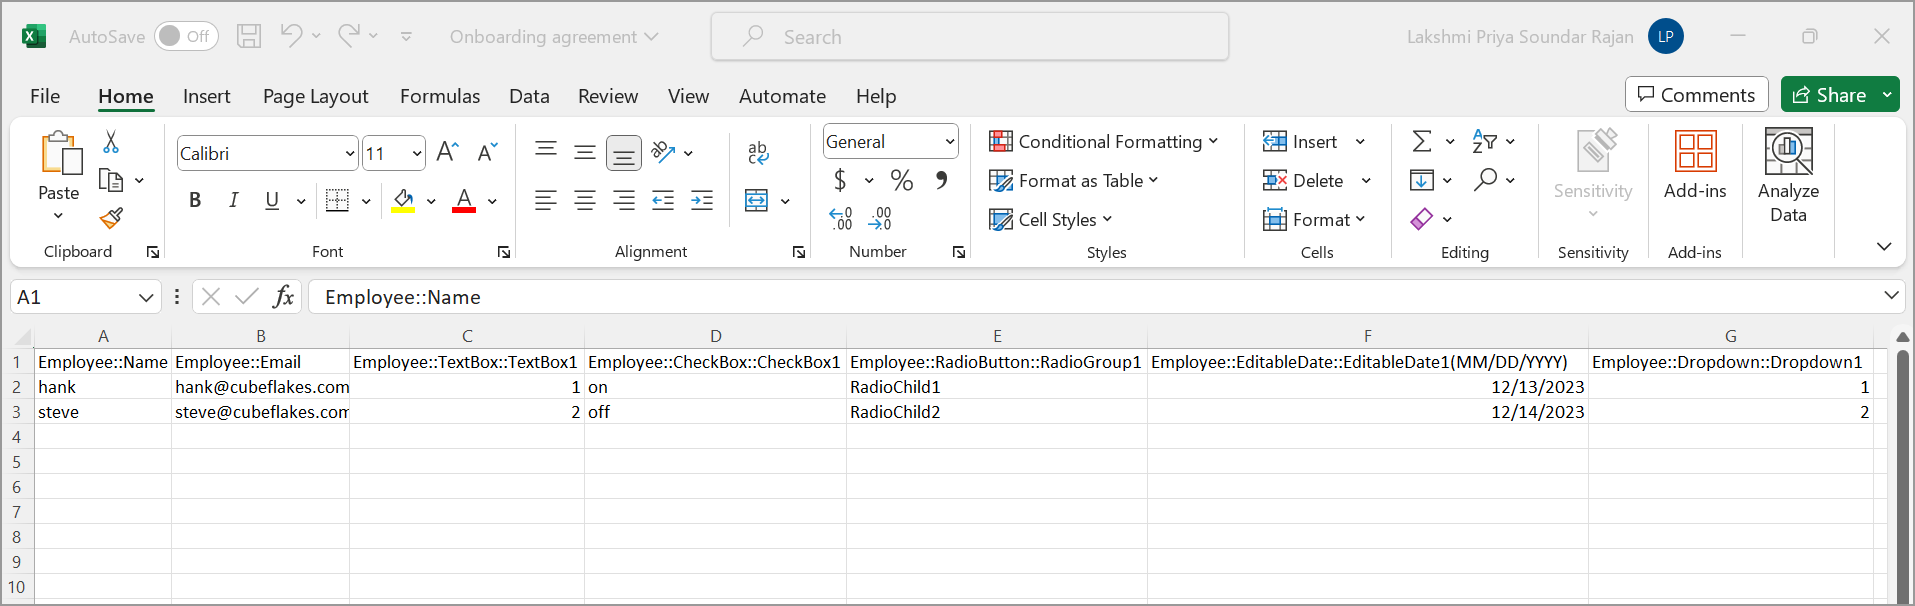
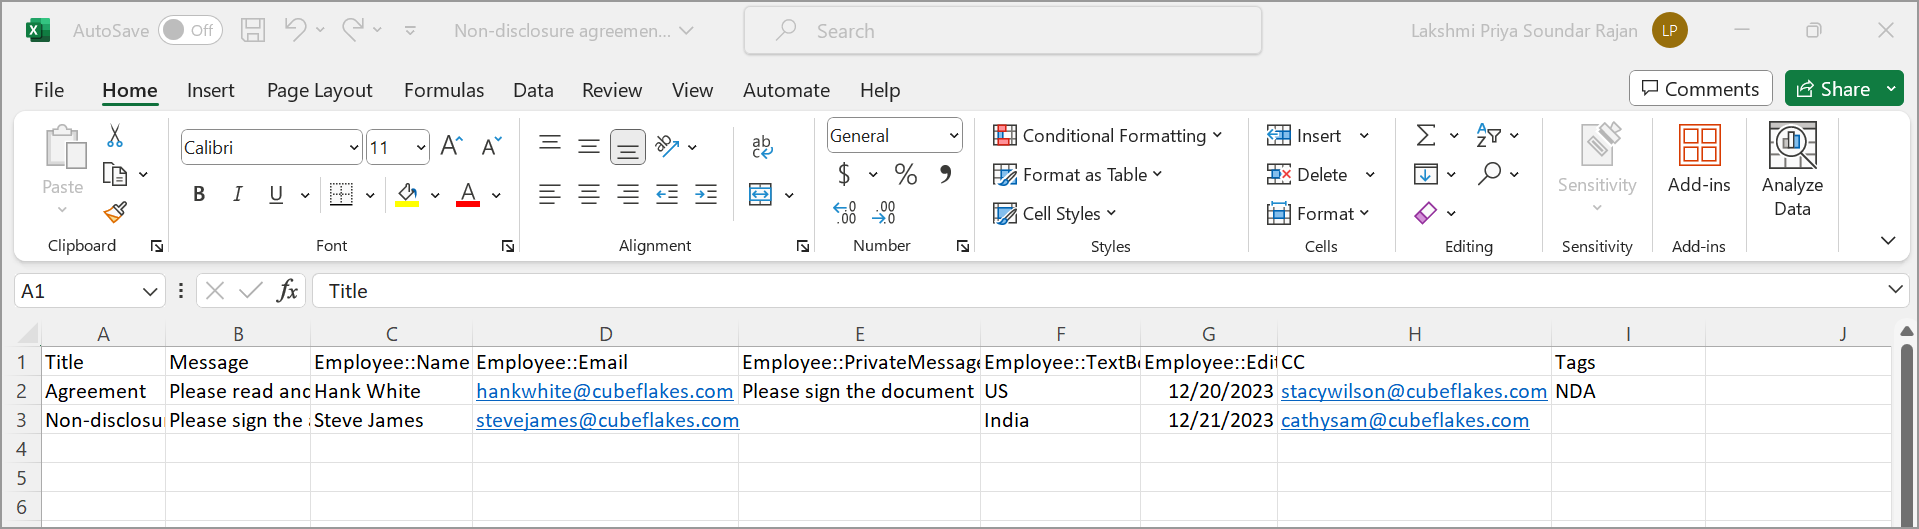
In the "Add Recipients" section, you’ll find a note with a “Download sample CSV” link. When you click that link, a CSV file will be downloaded with the prefilled column headers and default values based on the attached template.
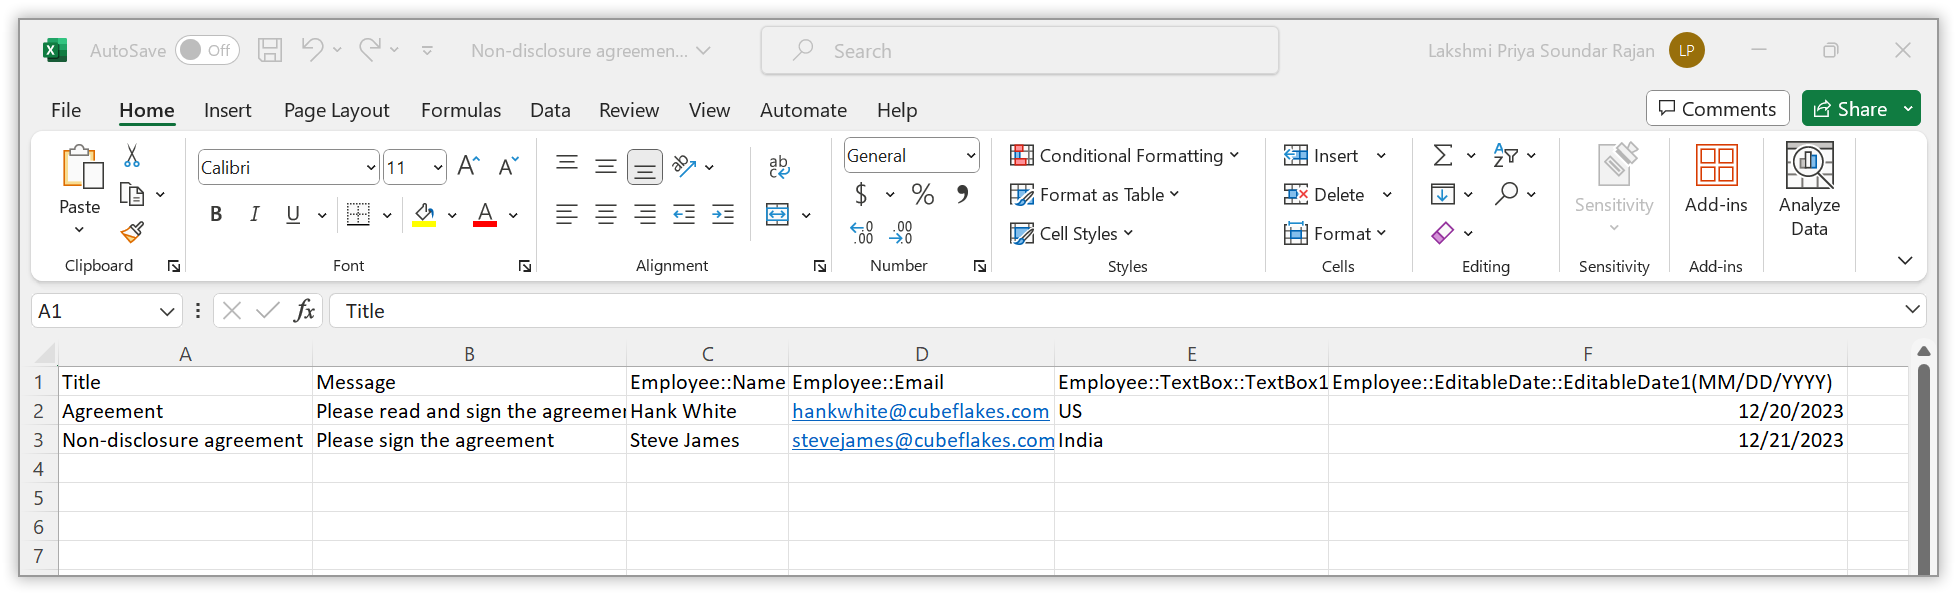
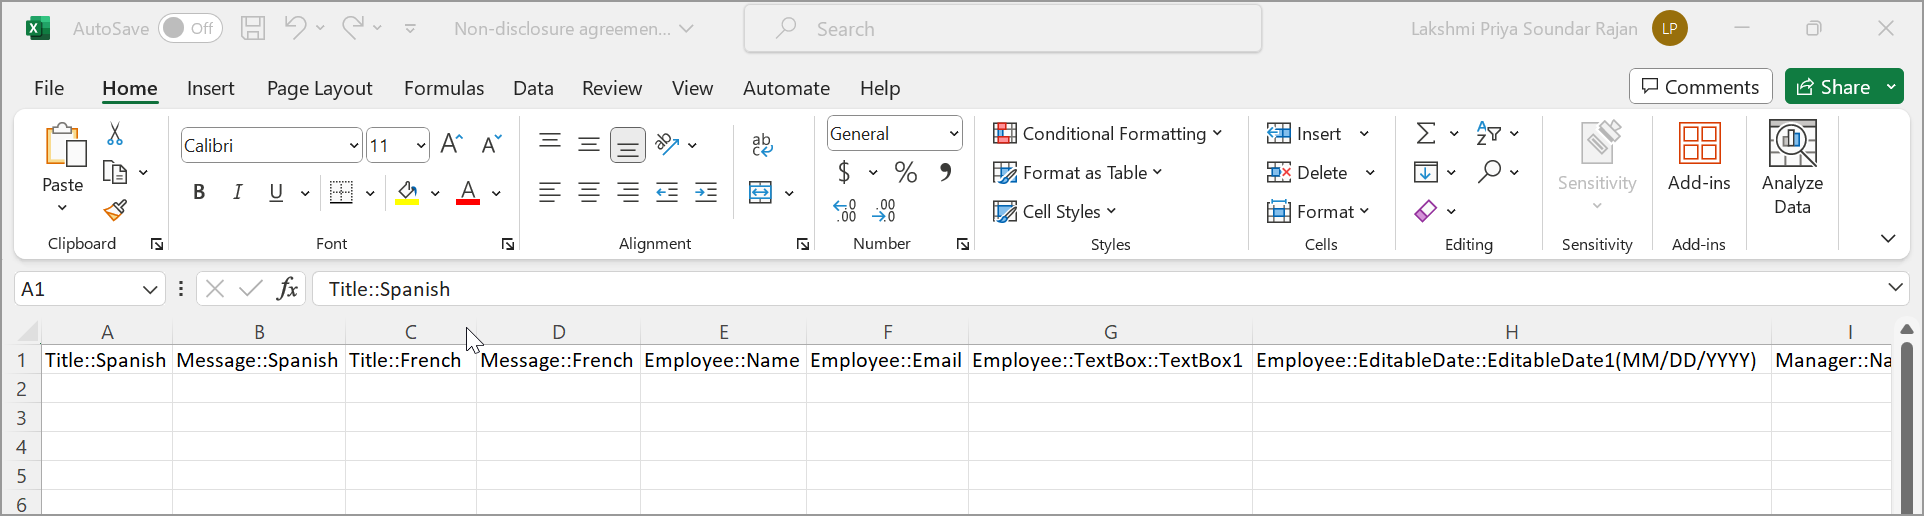
You can include recipient details and specify different titles, messages, languages, CC, tags, default values, etc., for each recipient in the CSV file. The format for specifying these details is explained in the “CSV format for recipient data” section of this blog.
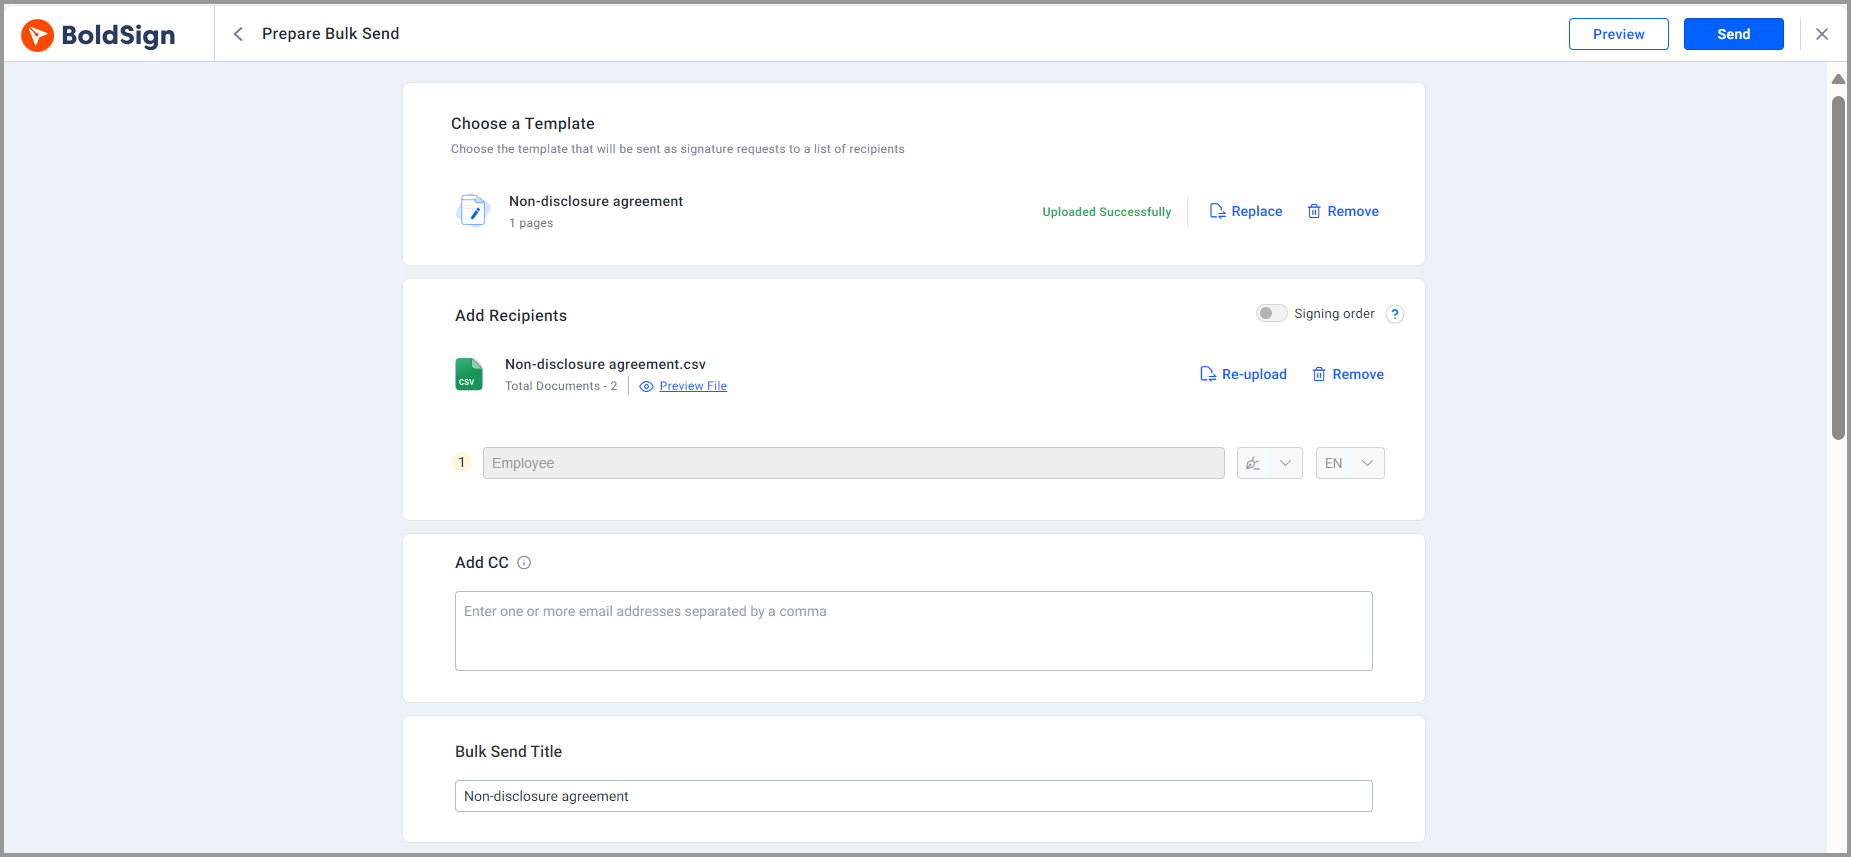
Once you've added recipient details to the CSV file, upload it using the "Upload Recipient data CSV" option. If any errors occur due to incorrect formatting, an error message will be displayed.
The role details are fetched from the template and cannot be modified. You can add CC recipients in the CC field, which will be applied to all recipients. To include different CC recipients for each recipient, include the CC recipient details in the CSV file.
In the Bulk Send title section, the template name will be displayed by default, but you can modify the title if needed.
In the Document section, the file name will be the document title, and the message added in the template will be displayed in the message field. Modify the title and message as needed.
In the Document settings, fields will be prefilled based on the template, and you can make changes if needed.
Click the "Preview" button to see how the document will appear for each recipient.
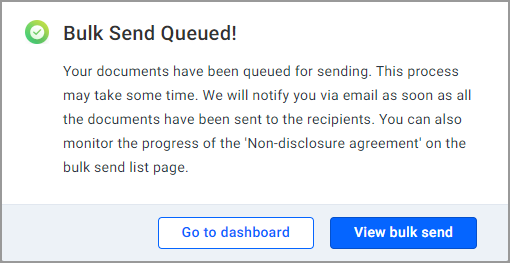
Once you're satisfied with the settings, click the "Send" button to initiate the bulk send process.
After sending a bulk request for eSignature, you can track its status on the “My Bulk Send” page. Here, you’ll find details about each bulk send, including the number of recipients and their current status.
In the bulk send process, providing recipient data in a CSV file is a prerequisite. This ensures a standardized format that BoldSign recognizes and utilizes for streamlined operations.
Upon downloading the sample CSV, the values are automatically populated based on your chosen template. For instance, if you designated “Employee” in the role field and opted for email delivery, the CSV will showcase column headers like Name and Email with the role, tailoring the data presentation to your specific template choices.
Similarly, different delivery options such as SMS or Email & SMS will prompt the display of respective column headers.
When incorporating form fields with default value fields in the template (e.g., textbox, radio button, checkbox, editable date field, and dropdown fields), the corresponding column headers and values will be reflected in the CSV file. This allows you to modify default values according to your requirements.
The form fields like signature, image, and attachment won’t appear in the CSV file, given their absence of default value fields. However, they will be presented to the signers during the process.
To provide distinct titles and messages to individual recipients, it’s essential to include the Title and Message fields before the Name field in your CSV file.
For users with two roles and varied language preferences, specifying languages in the title and message columns ensures personalized communication. The first language corresponds to the first role, and the second language corresponds to the second role.
To include different CC recipients and tags for your recipients, add the corresponding columns after the last column in the CSV file. Additionally, for private messages directed at specific signers, include a private message column after the document delivery details.
Thank you for taking the time to explore the benefits of BoldSign’s Bulk Send feature with us. We hope this guide has provided you with valuable insights into how Bulk Send can save you time and effort in managing your document signing processes.
Your feedback is invaluable to us, contributing to the ongoing enhancement of BoldSign. Please take a moment to share your comments below.
Lakshmi Priya Soundar Rajan is a Technical Writer at BoldSign. With expertise in simplifying complex concepts, she contributes to the comprehensive documentation and user-friendly content at BoldSign. Lakshmi's commitment to quality ensures users have access to clear and helpful information.
Latest Articles
Demo-Rss
Mandating Signer Authentication When Making Signature Requests via API
How to Send Documents for eSignature with Identity Verification via API